Call Us Today!
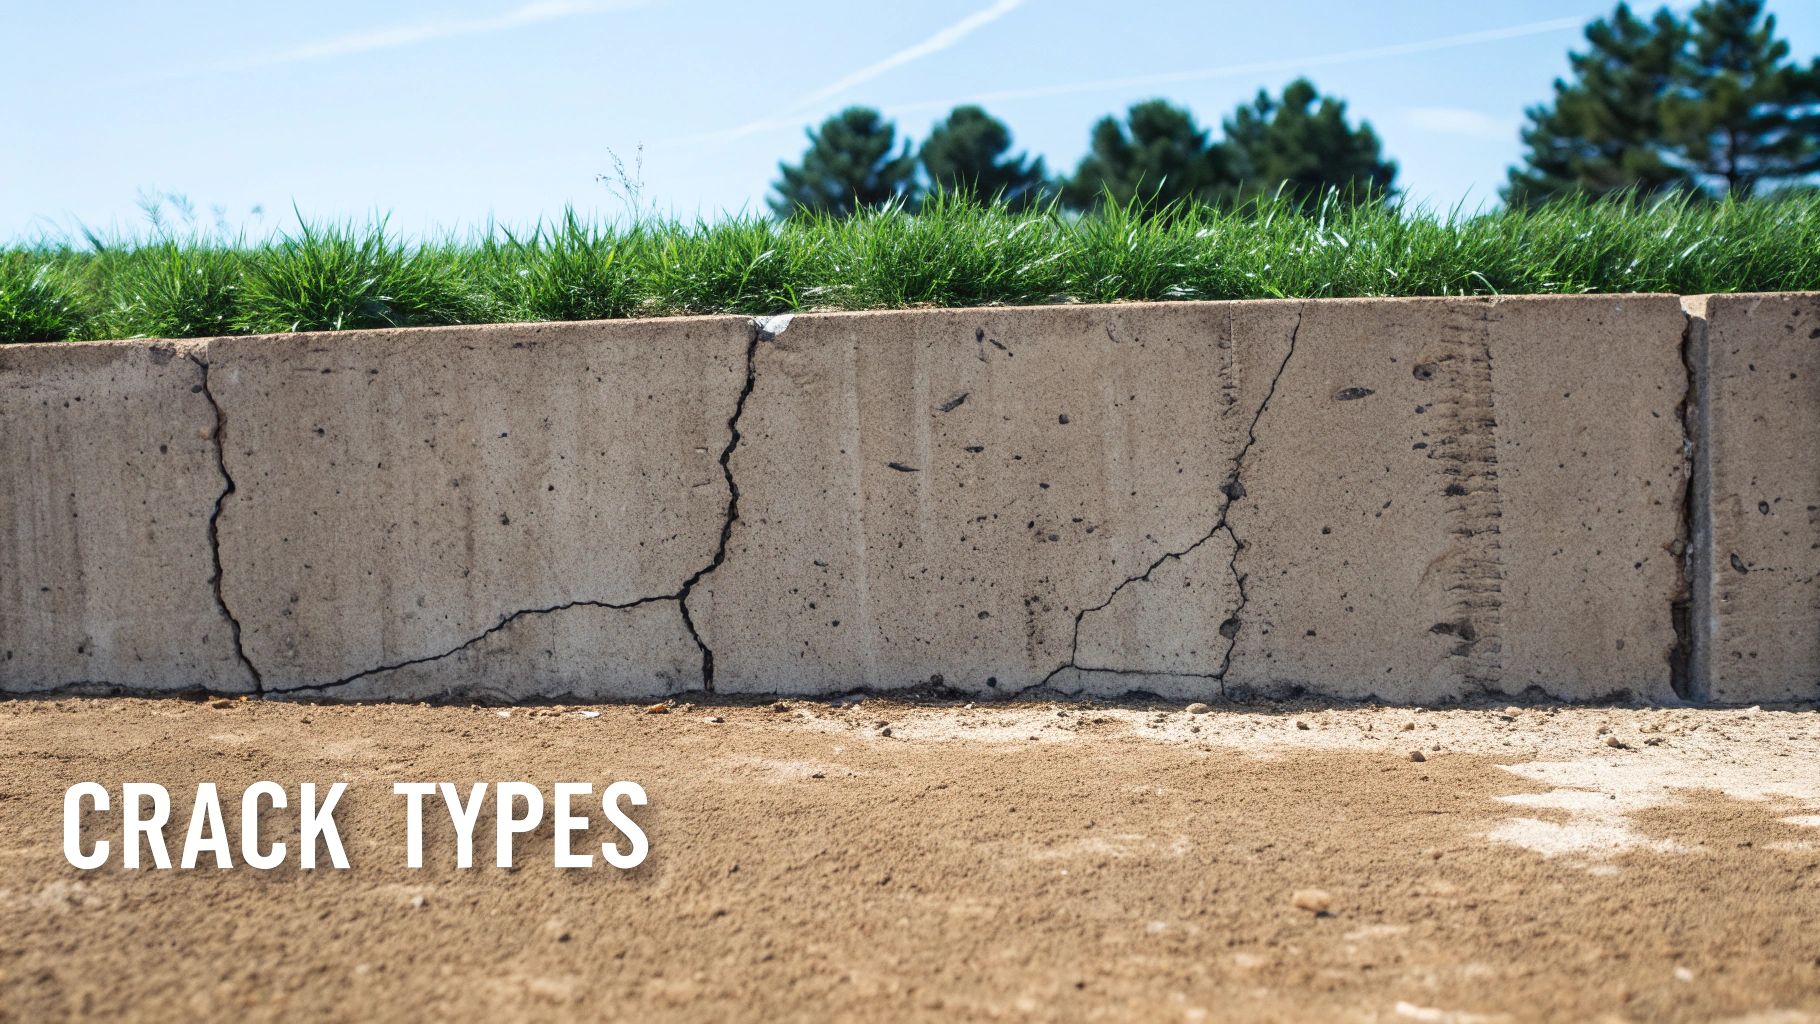
(647) 994 4698Spotting a crack in your foundation can definitely give you a jolt, but figuring out how to fix foundation cracks always starts with one crucial step: knowing exactly what you’re looking at.
Most tiny, hairline cracks are just a normal part of your house settling into place. But those wider, horizontal, or stair-step cracks? They can signal serious structural problems that need your immediate attention. Learning to tell them apart is the key to a safe, effective, and lasting repair.
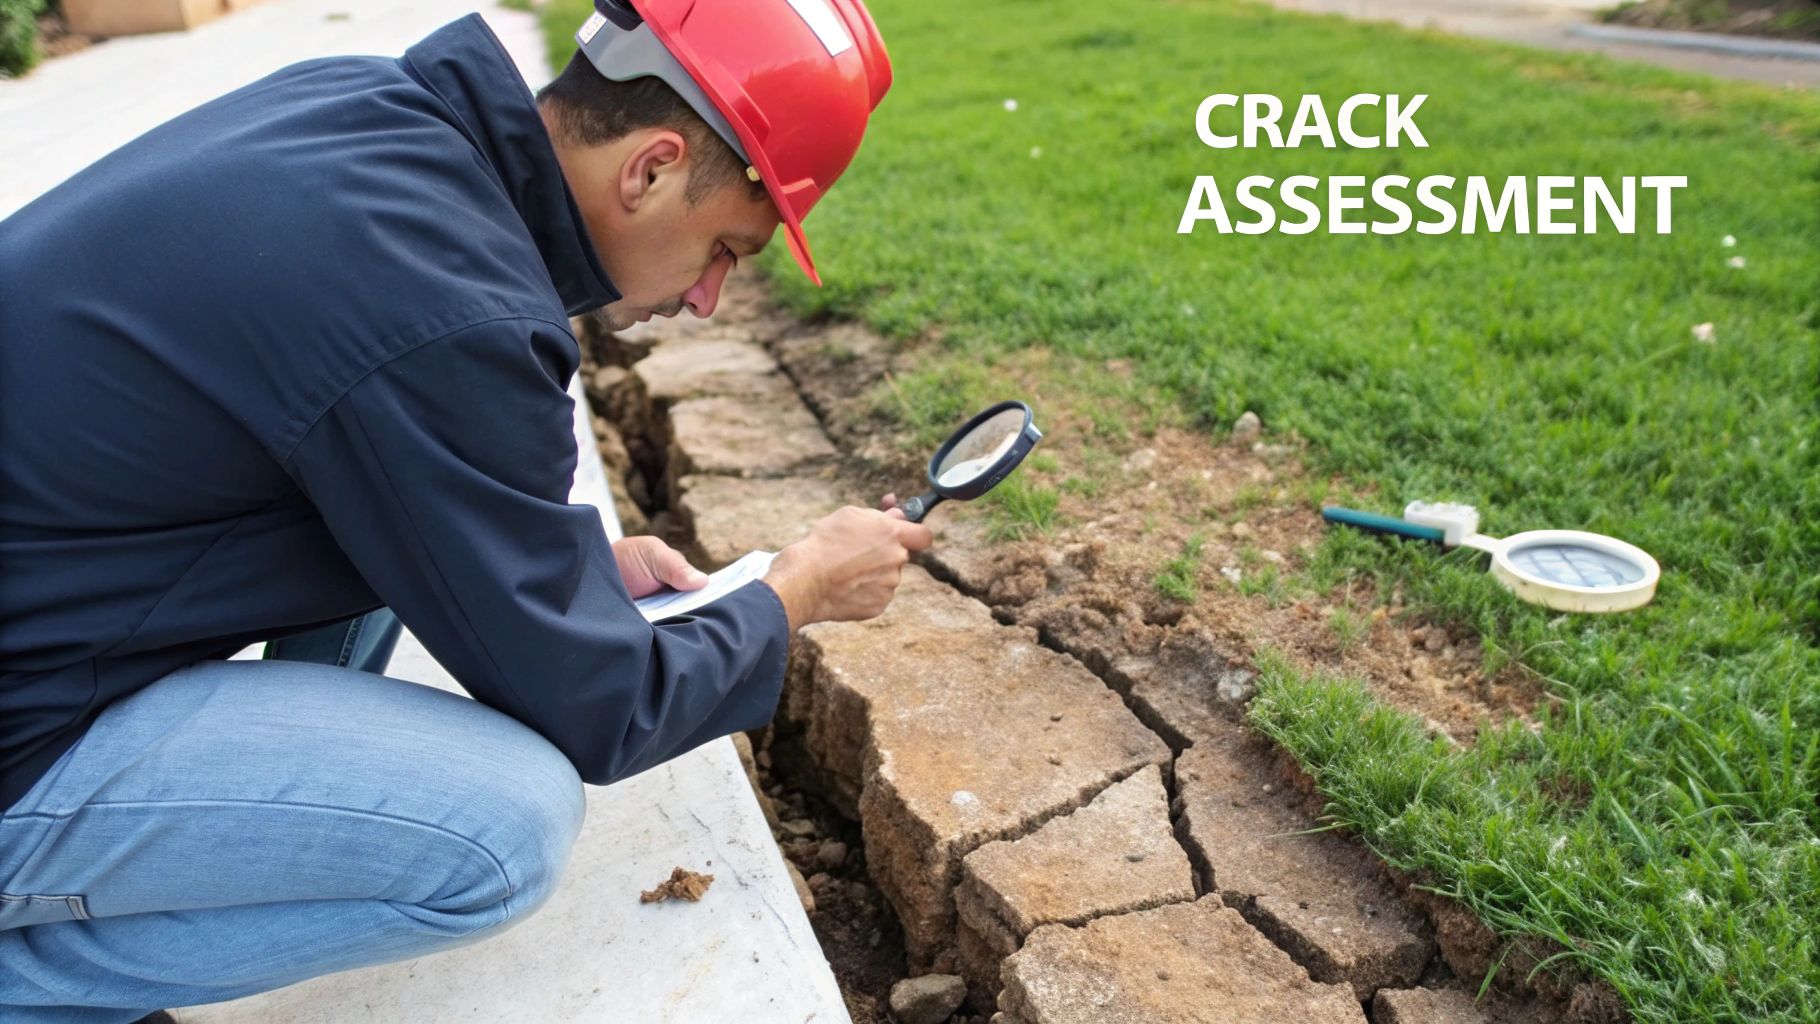
Before you even think about grabbing any repair materials, it's time to put on your detective hat. A foundation crack is just a symptom; your real job is to uncover the root cause. Here in the Greater Toronto Area, our homes are under constant pressure from two big culprits: our expansive clay soil and the brutal freeze-thaw cycles of a Canadian winter.
These local conditions can cause anything from a harmless cosmetic flaw to major structural damage.
The first clue is the crack's direction. I tell homeowners to think of it this way: vertical cracks tend to follow the path of least resistance as concrete settles, which is often not a major issue. Horizontal cracks, on the other hand, are fighting against immense outside pressure pushing inward. That distinction alone tells you a lot about what you're up against.
No two cracks are exactly alike. Their shape, size, and where they appear on the wall tell a story about the forces hammering away at your home. Paying close attention to these details will help you decide if this is a weekend DIY job or if it's time to call in a professional.
Here’s a quick rundown of what to look for:
To make this even clearer for Toronto homeowners, I've put together a quick reference table. It’s a handy way to connect what you're seeing to the likely cause and what you should do next.
| Crack Type | Appearance | Likely Cause in the GTA | Recommended Action |
|---|---|---|---|
| Hairline Vertical | Very thin, straight up and down, less than 3 mm wide. | Normal concrete curing and shrinkage. | DIY Repair: Seal with an epoxy or polyurethane injection kit to prevent water seepage. Monitor for any changes. |
| Wide Vertical | Wider than 3 mm, may have some slight offset. | Minor settlement, possibly exacerbated by soil moisture changes. | Monitor Closely: Mark the ends and measure the width. If it grows, it's time for a professional foundation assessment. |
| Diagonal/Stair-Step | Zig-zag pattern following mortar lines in block foundations. | Differential settlement due to soil issues like erosion or expansive clay. | Expert Consultation: This often indicates an uneven load or soil problem. Have a structural engineer investigate the cause before attempting a repair. |
| Horizontal | A straight or slightly bowed crack running sideways along the wall. | Serious Pressure: Hydrostatic pressure from saturated soil or frost heave from our harsh winters. | Immediate Professional Help: This is a red flag for potential foundation failure. Do not attempt a DIY fix. Call a structural engineer immediately. |
This table should give you a good starting point. Remember, when you see a horizontal crack, the game changes—it's no longer a DIY situation.
Need a quick way to gauge a crack's width? Try the "coin test." If you can easily slide a dime or nickel into the crack, it’s wide enough to pay closer attention to. As a general rule of thumb, any crack wider than 6 millimetres (about 1/4 inch) should be considered a red flag.
Here’s a piece of advice I always give: The most important thing isn't just the crack's size today, but whether it's actively changing. A small crack that's getting longer or wider is a much bigger worry than a larger one that hasn't moved in years.
A simple way to monitor a crack is to mark the ends with a pencil and write the date. Take a clear photo with your phone for comparison. Then, check it every few months—especially after a heavy rainfall or the spring thaw—to see if the crack has grown past your marks.
Knowing how to read these signs is the bedrock of a successful repair. It ensures you’re not just slapping a patch on a symptom but are actually addressing the root cause, protecting your Toronto home for the long haul. If you see horizontal cracks, a noticeable bow in the wall, or any crack that's clearly growing, stop what you're doing and consult a structural engineer before taking another step.
So, you've figured out your crack is the non-structural kind. Good. Your next step is to gear up, and this is where a lot of DIY projects go sideways.
Walking into a big-box hardware store can be a bit much. Rows upon rows of tubes, kits, and gadgets. But getting this part right is the difference between a quick patch that fails next spring and a permanent, waterproof seal. Think of this as more than a shopping trip—it's the first real step in making sure your repair can handle Toronto's demanding climate.
Your whole project will revolve around one key item: an injection repair kit. These kits are the standard for a reason. They don’t just smear a product over the crack; they actively fill it from the inside out, creating a solid barrier that water simply can't get through. The real question isn't if you need a kit, but which kind is the right match for your home.
The two big names in the foundation repair game are epoxy and polyurethane foam. Both work, but they do completely different jobs. Understanding the distinction is absolutely critical, especially with the kind of ground movement we get here in the GTA.
Epoxy Injection Kits
Think of epoxy as a structural super-glue. When you inject it, it literally bonds the concrete on either side of the crack, restoring the wall's original strength.
Polyurethane Foam Injection Kits
Polyurethane is a whole different beast. It’s a flexible sealant. As soon as it hits any moisture inside the crack, it expands into a dense, pliable foam that acts like a gasket.
For the typical vertical shrinkage crack that so many Toronto homeowners deal with, polyurethane is almost always the superior choice. Our clay soil swells when it’s wet and shrinks when it’s dry, and the constant freeze-thaw cycles only add more stress. A rigid epoxy repair can easily re-crack under that subtle, constant pressure. Polyurethane's flexibility, on the other hand, just moves with it, keeping that seal tight year after year.
The goal for a leaky, non-structural crack isn't to glue the wall back together—it's to stop the water. Polyurethane foam creates a permanent, flexible barrier inside the crack, which is exactly what you need to keep your basement dry.
Beyond the kit itself, you'll need a handful of other items to get the area ready and do the job cleanly and safely. Don't be tempted to cut corners here. Proper prep is easily 50% of the work and it’s what guarantees the repair material will actually stick.
Here’s a simple checklist of what to grab:
With this list in hand, you can walk into the store with confidence, knowing you're getting everything you need to fix that foundation crack properly and achieve a pro-level result that will last.
Alright, you've got your materials ready, so it's time to get your hands dirty. Learning how to fix foundation cracks isn't about brute force; it's about being methodical. This is where your prep work really shines, turning that ugly crack into a solid, waterproof seal that’ll protect your Toronto home for years to come.
The difference between a DIY job and a pro-level repair is all in the details. From how you scrub the concrete to the direction you inject the foam, every step builds on the last. We'll walk through the whole process, pointing out the little tips I've learned that make all the difference in getting that repair material to bond perfectly and fill every last nook and cranny.
Think of this part like prepping a wall before you paint. If the surface isn't clean, smooth, and ready, nothing you put on top is going to stick right. The goal here is to create a clean, solid surface both inside and outside the crack so your repair materials have something to grab onto.
First up, grab your wire brush. You'll want to give the crack and the surrounding area—about an inch or two on either side—a really vigorous scrub. You need to knock off all the loose concrete flakes, dust, grime, and any old paint. Any bit of debris you leave behind will weaken the bond, setting you up for a failed repair down the road.
Once you’ve brushed everything down, use a shop vacuum to suck up all that fine dust. A common mistake is just blowing it away, but that only pushes the problem around. You need to get it completely out of the work area for the best possible adhesion.
This next infographic shows the prep process in three simple, visual steps.
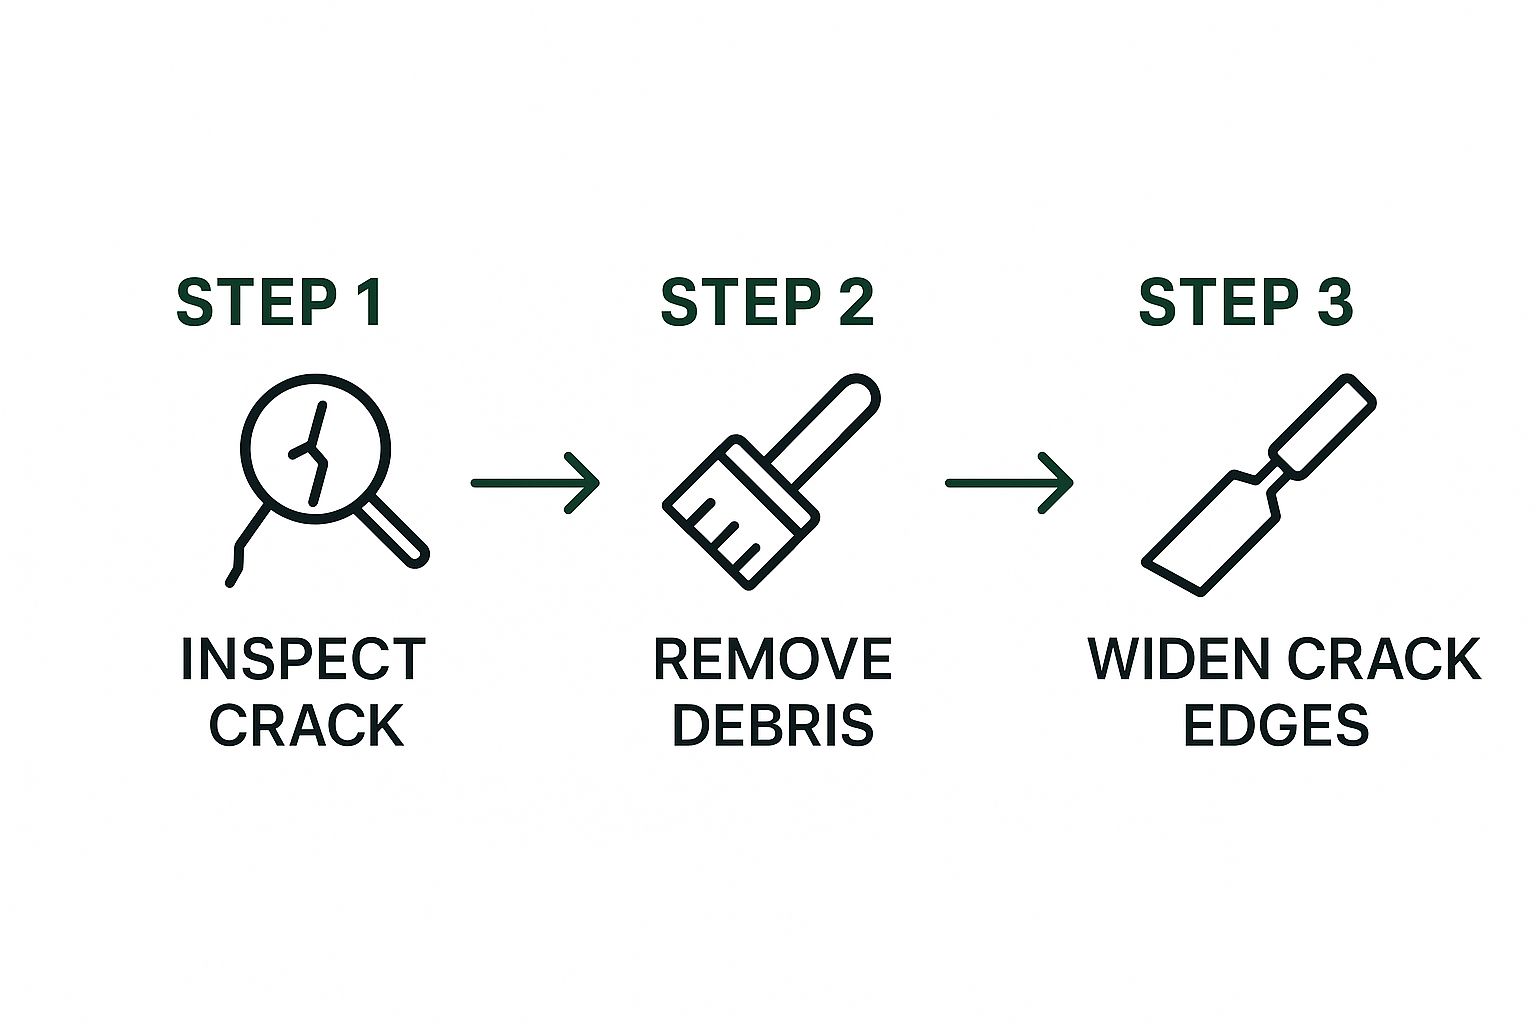
As you can see, a successful repair is built on a foundation of meticulous prep work. Don't rush it.
With the crack cleaned out, it’s time to install the injection ports. These are the small plastic nozzles that let you force the polyurethane foam deep into the foundation wall, filling the entire void from the inside out.
Here’s how you place them correctly:
Now, take that same surface sealer paste and smear a thick layer over the entire crack, from top to bottom. You're aiming to completely cover the crack and the base of each port, creating a solid cap. This patch is critical—it acts like a dam, stopping the foam from oozing out the front as you inject it. Just be careful not to clog the openings of the ports themselves.
A common DIY blunder is being too skimpy with the surface sealer. Apply it at least a quarter-inch thick and spread it an inch on both sides of the crack. This ensures it's strong enough to handle the pressure of the expanding foam.
Let the surface sealer cure until it’s hard to the touch. This usually takes 30 to 60 minutes, but always check the manufacturer's instructions. If you rush this step, you’ll end up with a huge mess.
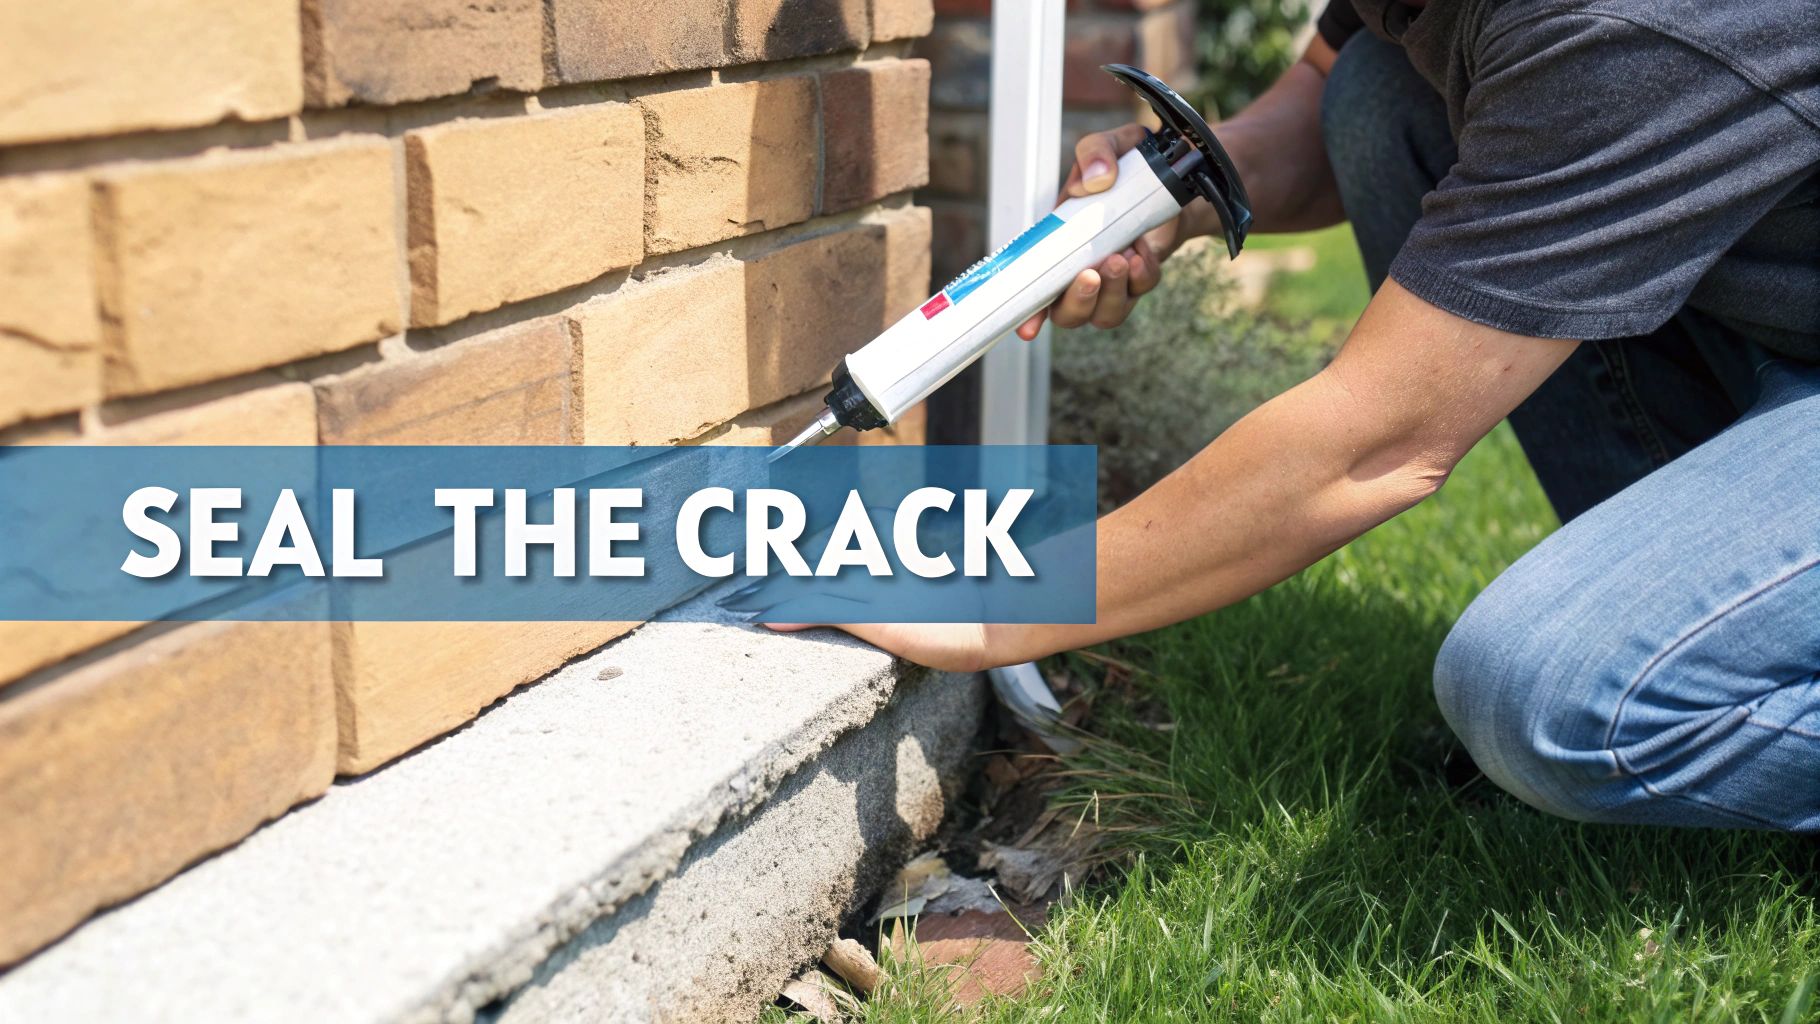
Once that sealer is rock solid, you're ready to inject the polyurethane foam. This is where the magic happens. We work from the bottom up for a simple reason: physics. It forces the foam upwards, pushing out any trapped air or water ahead of it and ensuring a complete, solid fill.
Attach the polyurethane cartridge to your caulking gun and start with the lowest port. Squeeze the handle slowly and steadily, injecting the liquid foam.
Keep injecting until you see a little bit of foam start to seep out of the port directly above the one you're working on. That’s your cue to stop.
Pull the nozzle out, cap the port you just filled, and move up to the next one—the one where you saw the foam appear. Repeat the process. Continue this sequence, moving from one port to the next, all the way to the top of the crack.
After you’ve injected the last port, the hard part is over. Now, you just have to let the polyurethane cure completely. The time can vary depending on the temperature and humidity, but it’s often around 24 to 48 hours. Check your product's instructions for the exact timing. Inside the wall, the foam is expanding and hardening into a dense, flexible, waterproof plug.
Once it's fully cured, you can finish the job. Take a simple hacksaw blade and cut the plastic injection ports off flush with the wall. You can leave the grey sealer patch as is, but if you want a cleaner look, you can gently chip it off with a hammer and chisel. The patch usually pops off pretty easily, leaving behind a clean, sealed crack that you can paint over to match the rest of your basement.
While rolling up your sleeves for a DIY project can be satisfying, the smartest skill any homeowner can have is knowing when to put the tools down and pick up the phone. When it comes to your foundation, this isn't just about convenience—it's about protecting the very structure your home stands on.
Some problems are clear signs that a simple injection kit from the hardware store just won't cut it. These symptoms point to bigger, more powerful forces at play, like intense hydrostatic pressure from water-logged soil or significant ground settlement. Both are common headaches here in the Greater Toronto Area, where our expansive clay soil and brutal freeze-thaw cycles put foundations under incredible stress. Ignoring these warnings is a gamble you don't want to take.
Certain cracks aren't just minor leaks; they're urgent messages from your home that something is seriously wrong. If you spot any of the following issues, your next move should be calling a pro, not planning a weekend project.
These are the non-negotiable signs that you're beyond a DIY fix:
Recognizing these signs is the most critical part of dealing with foundation issues. Getting a professional assessment isn't admitting defeat; it's the smartest move you can make to ensure a permanent, safe solution for your property.
When you see these serious symptoms, your first call shouldn't necessarily be to a repair contractor, but to a licensed structural engineer. Here in Toronto, an engineer gives you an unbiased, third-party assessment of your foundation's health. They aren't trying to sell you a specific repair product; their only job is to diagnose the root cause and prescribe the correct solution.
This formal assessment is invaluable. An engineer will analyze the soil conditions, the load on your foundation, and the extent of the damage. They’ll then provide a stamped report detailing their findings and outlining the necessary repairs. You can take that report to reputable contractors for quotes, confident that you're getting the right work done—not just the work a company happens to specialize in.
For severe settlement problems, especially on the GTA's tricky soil, pros often turn to a method called underpinning. This is a major structural repair that involves extending the foundation deeper into the ground until it rests on more stable, load-bearing soil.
Essentially, underpinning creates a new, stronger foundation beneath your existing one. Technicians strategically excavate sections under your home and install hydraulic piers or concrete footings that transfer the house's weight down to solid ground or bedrock. It’s a complex and invasive process, but it's one of the only ways to permanently stop a house from settling.
Ultimately, while DIY methods are great for minor leaks, major structural problems require a team of experts. If your foundation shows signs of bowing, significant settlement, or wide horizontal cracks, investing in professional waterproofing and foundation repair services is the only responsible choice to protect your home.
Fixing a foundation crack feels good, but making sure you don’t get another one is even better. When it comes to your home's foundation, a little bit of prevention goes a long, long way. Here in the Greater Toronto Area, the number one enemy of a solid foundation is water—specifically, uncontrolled water.
Our intense spring thaws and heavy summer storms can completely saturate the clay soil around your home. That saturated soil swells and pushes against your foundation walls with incredible force, a phenomenon known as hydrostatic pressure. It’s this pressure that pops those cracks into existence.
The good news? You can fight back with some straightforward, year-round habits. Effective water management is your best defence, and it starts by simply looking up at your roof. These steps are less about major construction and more about smart, consistent home maintenance that keeps water far away from your foundation.
Think of your eavestrough system as the first line of defence. Its only job is to catch rainwater and guide it safely away from your house. But when it’s clogged or damaged, it fails spectacularly, dumping litres of water right against your foundation. A clogged eavestrough is a recipe for disaster in the GTA.
A simple inspection routine can make all the difference.
Once the water leaves your downspout, where does it go? The slope of the ground around your home—what we call "lot grading"—is what directs its path. For a healthy foundation, you want a gentle, consistent slope that moves all surface water away from the house.
Ideally, your yard should drop about one inch for every foot, for the first six to ten feet away from your home. It doesn't sound like much, but that's all gravity needs to pull water away from your walls instead of letting it pool against them. Over time, things like landscaping projects, soil settling, and erosion can reverse this, creating a negative grade that funnels water straight toward your foundation.
Here's a quick way to check your grade: Hammer a stake into the ground right against your foundation. Run a string from that stake out ten feet to a second stake. Use a line level to get the string perfectly horizontal. The string should be at least ten inches higher at the house than it is at the far stake. If it's not, your grading needs a look.
For minor grading issues, you can often solve the problem yourself by building up the soil with a high-clay topsoil (sometimes sold as "grading soil"). If the problem is more significant, it’s wise to get a professional opinion. You want to ensure your solution fixes your drainage without creating a new problem for your neighbours.
Managing water is everything when it comes to foundation health. For more complex issues, exploring professional waterproofing and foundation repair in Toronto can provide a permanent solution.
By making these habits part of your routine—keeping eavestroughs clear, extending downspouts, and maintaining a positive grade—you actively reduce the pressure on your foundation walls. This dramatically lowers the risk of future cracks and will keep your basement dry and stable for the long haul.
Diving into foundation repair can feel overwhelming, and it's only natural to have a lot of questions. From navigating city regulations to understanding the real costs, homeowners across Toronto often find themselves wrestling with the same concerns when a crack appears.
So far, we've walked through how to tell a serious problem from a minor one, what tools you'll need for a DIY fix, and the exact steps for sealing a crack yourself. Now, let's get into the nitty-gritty and answer some of the most common questions we hear from homeowners in the GTA.
This is a big one, and the answer really hinges on the scale of the job.
For a straightforward, non-structural crack repair using one of the injection kits we discussed, you typically do not need a building permit from the City of Toronto. These minor repairs don’t change your home’s structure, so they fall outside the permit requirements.
However, the game changes completely the moment the work becomes structural. If you’re looking at a project that involves underpinning, modifying foundation walls, or any kind of significant excavation, you will almost certainly need a permit. It’s always smart to check with Toronto Buildings or have your contractor confirm before starting any major work. Better to be safe and fully compliant with local bylaws.
The cost of fixing a foundation crack in Toronto can swing wildly depending on how bad the crack is and what repair method is used.
If you’re going the DIY route with a polyurethane or epoxy injection kit, you can expect to spend somewhere between $100 and $200 at your local hardware store.
Bringing in the professionals for a standard injection repair on a single, non-structural crack will usually set you back $500 to $900. But if an inspection uncovers a serious structural issue that needs underpinning to stabilize your home? The costs can jump dramatically, often landing in the $10,000 to $25,000 range, or even higher. Always get a few quotes from trusted local pros.
Think of foundation repair costs as an investment, not just an expense. A small, affordable repair today can save you from a massive, five-figure structural nightmare down the road—especially with the kind of soil conditions we have here in the GTA.
It’s tempting to grab a bucket of hydraulic cement for a quick patch. It seems easy and cheap, but it's really just a temporary band-aid.
Hydraulic cement only creates a surface-level patch; it doesn't get deep into the crack to fill it through the entire thickness of the foundation wall. This means water can still seep into the crack behind your patch. Come winter, that trapped water will freeze and expand, eventually popping the patch right off the wall. You’ll be right back where you started.
For a permanent, waterproof seal on a leaking, non-structural crack, polyurethane foam injection is the way to go. It expands to fill the entire void from the inside out, creating a flexible barrier that lasts. If you want to explore other repair options, you might find our other articles on foundation repair solutions helpful.
When you're ready to protect your home with a professional, lasting solution, trust the experts at Joey's Landscaping. We provide comprehensive waterproofing and foundation repair services across the Greater Toronto Area. Contact us today for a free consultation and ensure your home stands on solid ground.